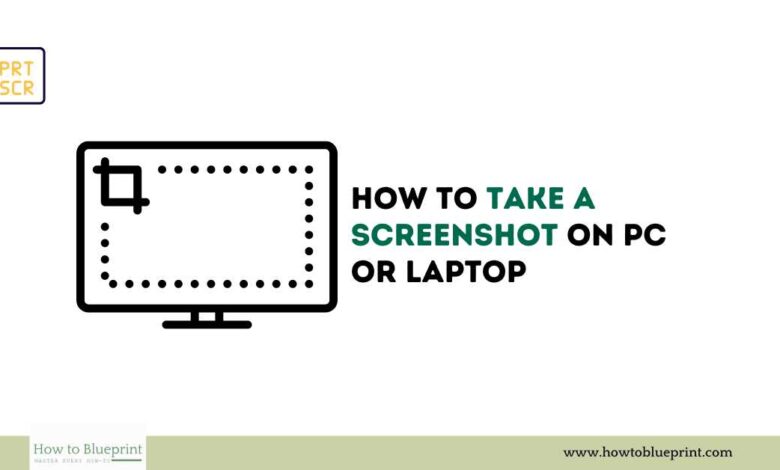
Capturing screenshots, which involves saving what’s displayed on your computer screen, is a fundamental skill for any PC or laptop user. Whether you want to preserve a moment from a video, document an error message, or share something noteworthy, knowing how to take a screenshot efficiently can significantly boost your productivity. Here’s a detailed guide covering various methods for different Windows operating systems:
Full Screen Screenshot on Windows
Using Print Screen (PrtScn):
- Press the
Print Screenkey (labeled asPrtScn), which captures the entire screen and copies it to your clipboard. - To save it as an image file:
- Open the
Paintapplication (search for “Paint” in the Start menu). - Press
Ctrl + Vto paste the screenshot. - Click on
File>Save As, choose a name and location, then clickSave.
- Open the
Using Alt + Print Screen (Alt + PrtScn):
- Press
Alt + Print Screento capture only the active window (the one currently in focus). - Follow the same steps as above to save the screenshot.
Partial Screen Screenshot on Windows
Using Snipping Tool:
- Search for “Snipping Tool” in the Start menu and open it.
- Click
Newand select the area of the screen you want to capture using the crosshair cursor. - Once selected, the snip will appear in the Snipping Tool window.
- Click on
File>Save Asto save it as an image file.
Windows 10 Specific Methods
Using Print Screen (PrtScn):
- Press
PrtScnto capture the entire screen. - Open an application like Paint, Word, or any image editor, and press
Ctrl + Vto paste the screenshot. - Save the file as usual.
Using Windows Key + Print Screen (Win + PrtScn):
- This captures the entire screen and automatically saves it to your
Picturesfolder in a subfolder namedScreenshots.
Screen Recording on Windows
Using Xbox Game Bar:
- Press
Win + Gto open the Xbox Game Bar. - Click on the
Recordbutton (or pressWin + Alt + R) to start recording. - To stop recording, press
Win + Alt + Ragain or click theStopbutton in the Game Bar. - Recorded videos are saved in
Videos>Capturesfolder.
Note: Xbox Game Bar is limited to recording applications and games, not the desktop or File Explorer. Consider using third-party software for broader recording needs.
Additional Screenshot Apps
Aside from the built-in Windows tools, there are several third-party apps that offer more features and flexibility for capturing and editing screenshots:
- Lightshot: A lightweight and easy-to-use tool for capturing and annotating screenshots quickly. It allows for easy sharing and editing of screenshots.
- FastStone Capture: Combines screen capture with powerful editing tools like annotations, resizing, and cropping. It’s suitable for users who need more advanced features beyond basic screenshot capabilities.
Troubleshooting and Additional Tips
- Different Devices: Methods for taking screenshots vary across devices and operating systems (Android, iPhone/iPad, Mac). Search online for specific instructions or refer to manufacturer guides.
- Third-Party Apps: Explore third-party apps available for more advanced screen capturing and recording capabilities. Look for options that suit your specific requirements in your preferred app store.
Mastering these methods and exploring additional apps will equip you to effortlessly capture and share anything visible on your screen. Whether you’re a student, professional, or simply using your computer for leisure, knowing how to take screenshots efficiently enhances your ability to communicate and work effectively in today’s digital landscape.